Exercise A: Routing
In previous chapters we review:
- Installation and requirements
- Application directory skeleton
- How to create a empty app with ember cli
- Main route and how to create routes
- Render templates
- Route anatomy
Let's start with the app.
The public repository are here.
- Create an empty app with ember cli, and run it.
$ ember new ember-basic-workshop

cd ember-basic-workshop

ember serve
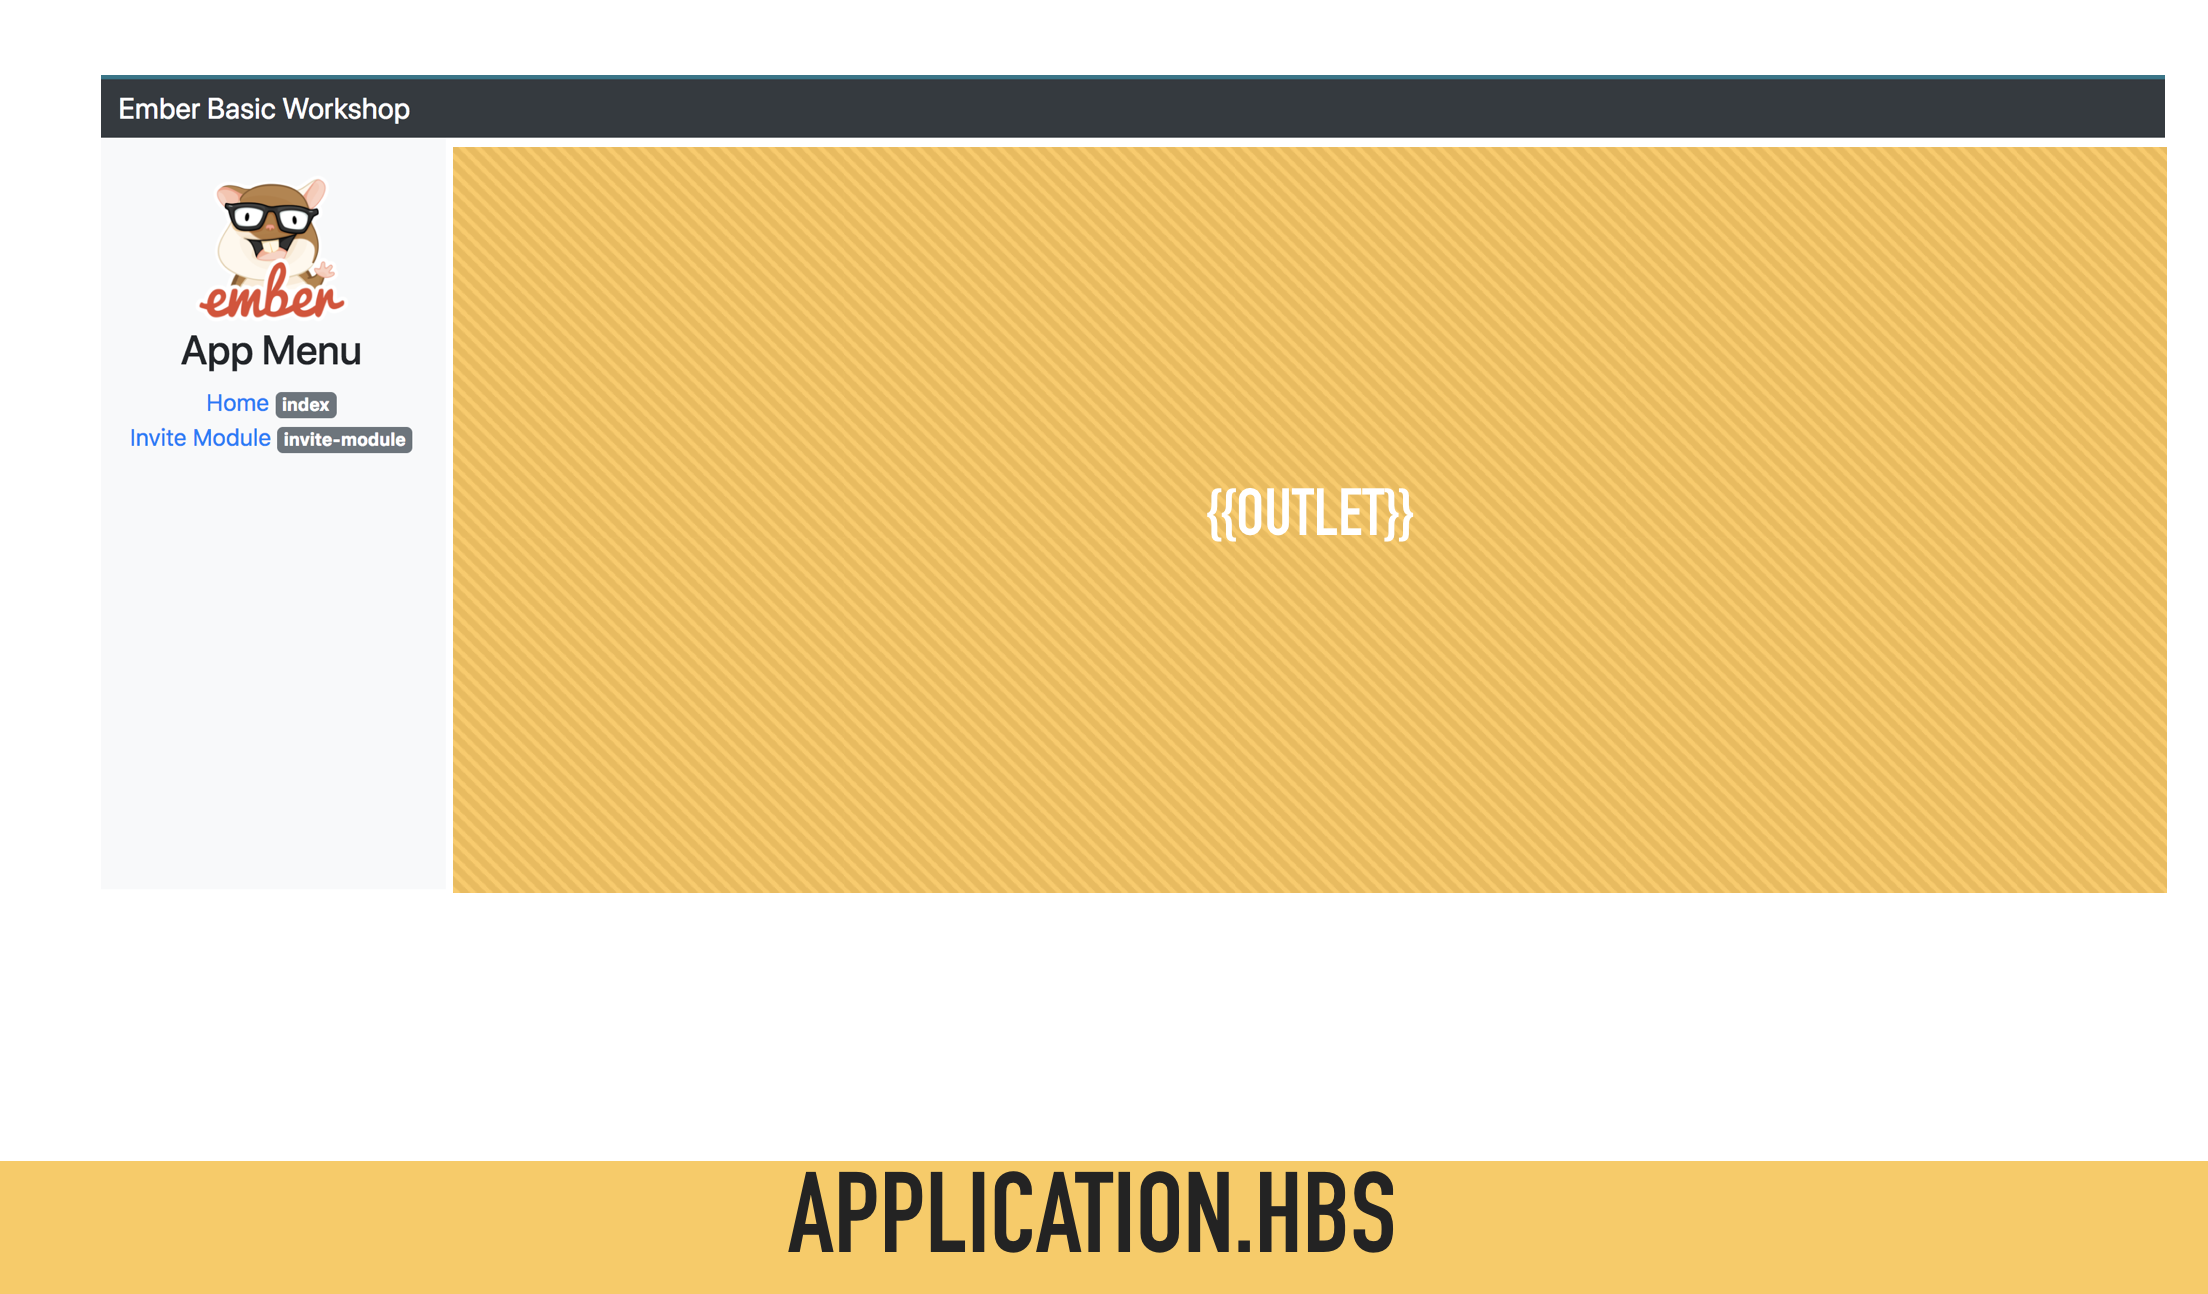
- We are going to modify application.hbs template
Remember that this is the main template for the app. The outlet is the place where the app will render the nested routes.
<nav class="navbar navbar-dark sticky-top bg-dark flex-md-nowrap p-0">
  <a class="navbar-brand col-sm-3 col-md-2 mr-0" href="#">Ember Basic Workshop</a>
</nav>

<div class="container-fluid">
  <div class="row">
    <nav class="col-md-2 d-none d-md-block bg-light sidebar">
      <div class="sidebar-sticky text-center">
        <br><img src="http://emberjs.com/images/tomster-sm.png" width="50%"/>
        <h3> App Menu </h3>
        <ul class="nav flex-column">
          <li class="nav-item">
            <a class="nav-link active">
              <span data-feather="home"></span>
              Dashboard
            </a>
          </li>
        </ul>
      </div>
    </nav>

    <main role="main" class="col-md-9 ml-sm-auto col-lg-10 pt-3 px-4">

        {{outlet}}

    </main>

  </div>
</div>
3.- Using the ember cli for generate two routes:
$ ember generate route index

$ ember g route invite-module
The route index belongs to application route. So it render by default.
Remember, ember cli generate three files per route: js file, template hbs, and test js.
4.- Adding content in index.hbs and invite-module.hbs template
index.hbs
<div class="text-center">
  <h2>Welcome to the Ember Basic Workshop</h2>
  <img src="http://techminds.com.mx/wp-content/uploads/2016/06/Logo-Makingdevs-square-big-300x300.png"/>
  <h3> Powered by Making Devs </h3>
  <strong> 2018 </strong><br><br>
  <div class="alert alert-primary" role="alert">
    I'am the index route!
  </div>
</div>
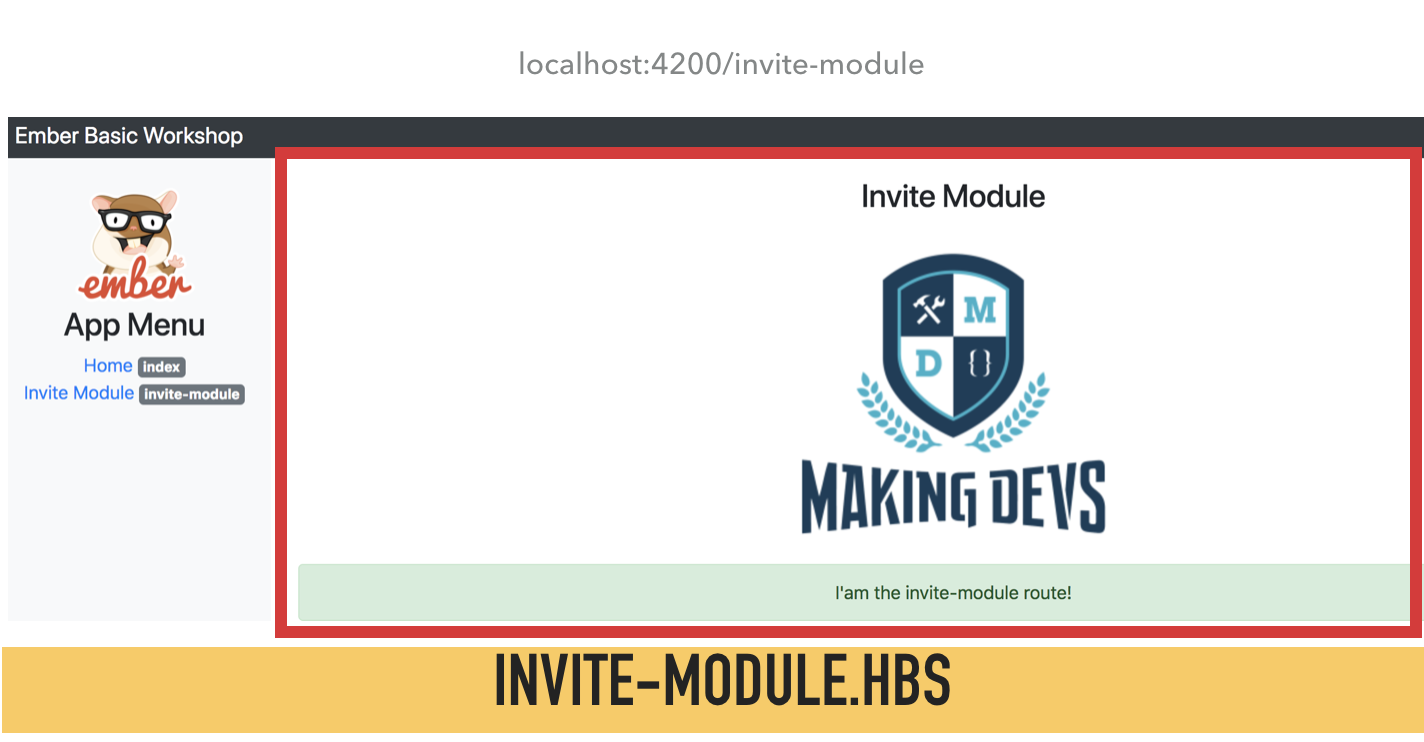
<div class="text-center">
  <h3> Invite Module </h3>
  <img src="http://techminds.com.mx/wp-content/uploads/2016/06/Logo-Makingdevs-square-big-300x300.png"/>
  <div class="alert alert-success" role="alert">
    I'am the invite-module route!
  </div>
</div>
Until here, we are modify 3 templates.
Because application is the default main route, you cannot see as single route. But we are created the routes index and invite-module. Index is a default template name of any route, so it render first. So if you want to see the index template, you have to visit localhost:4200 and if you want to see the invite-module visit localhost:4200/invite-module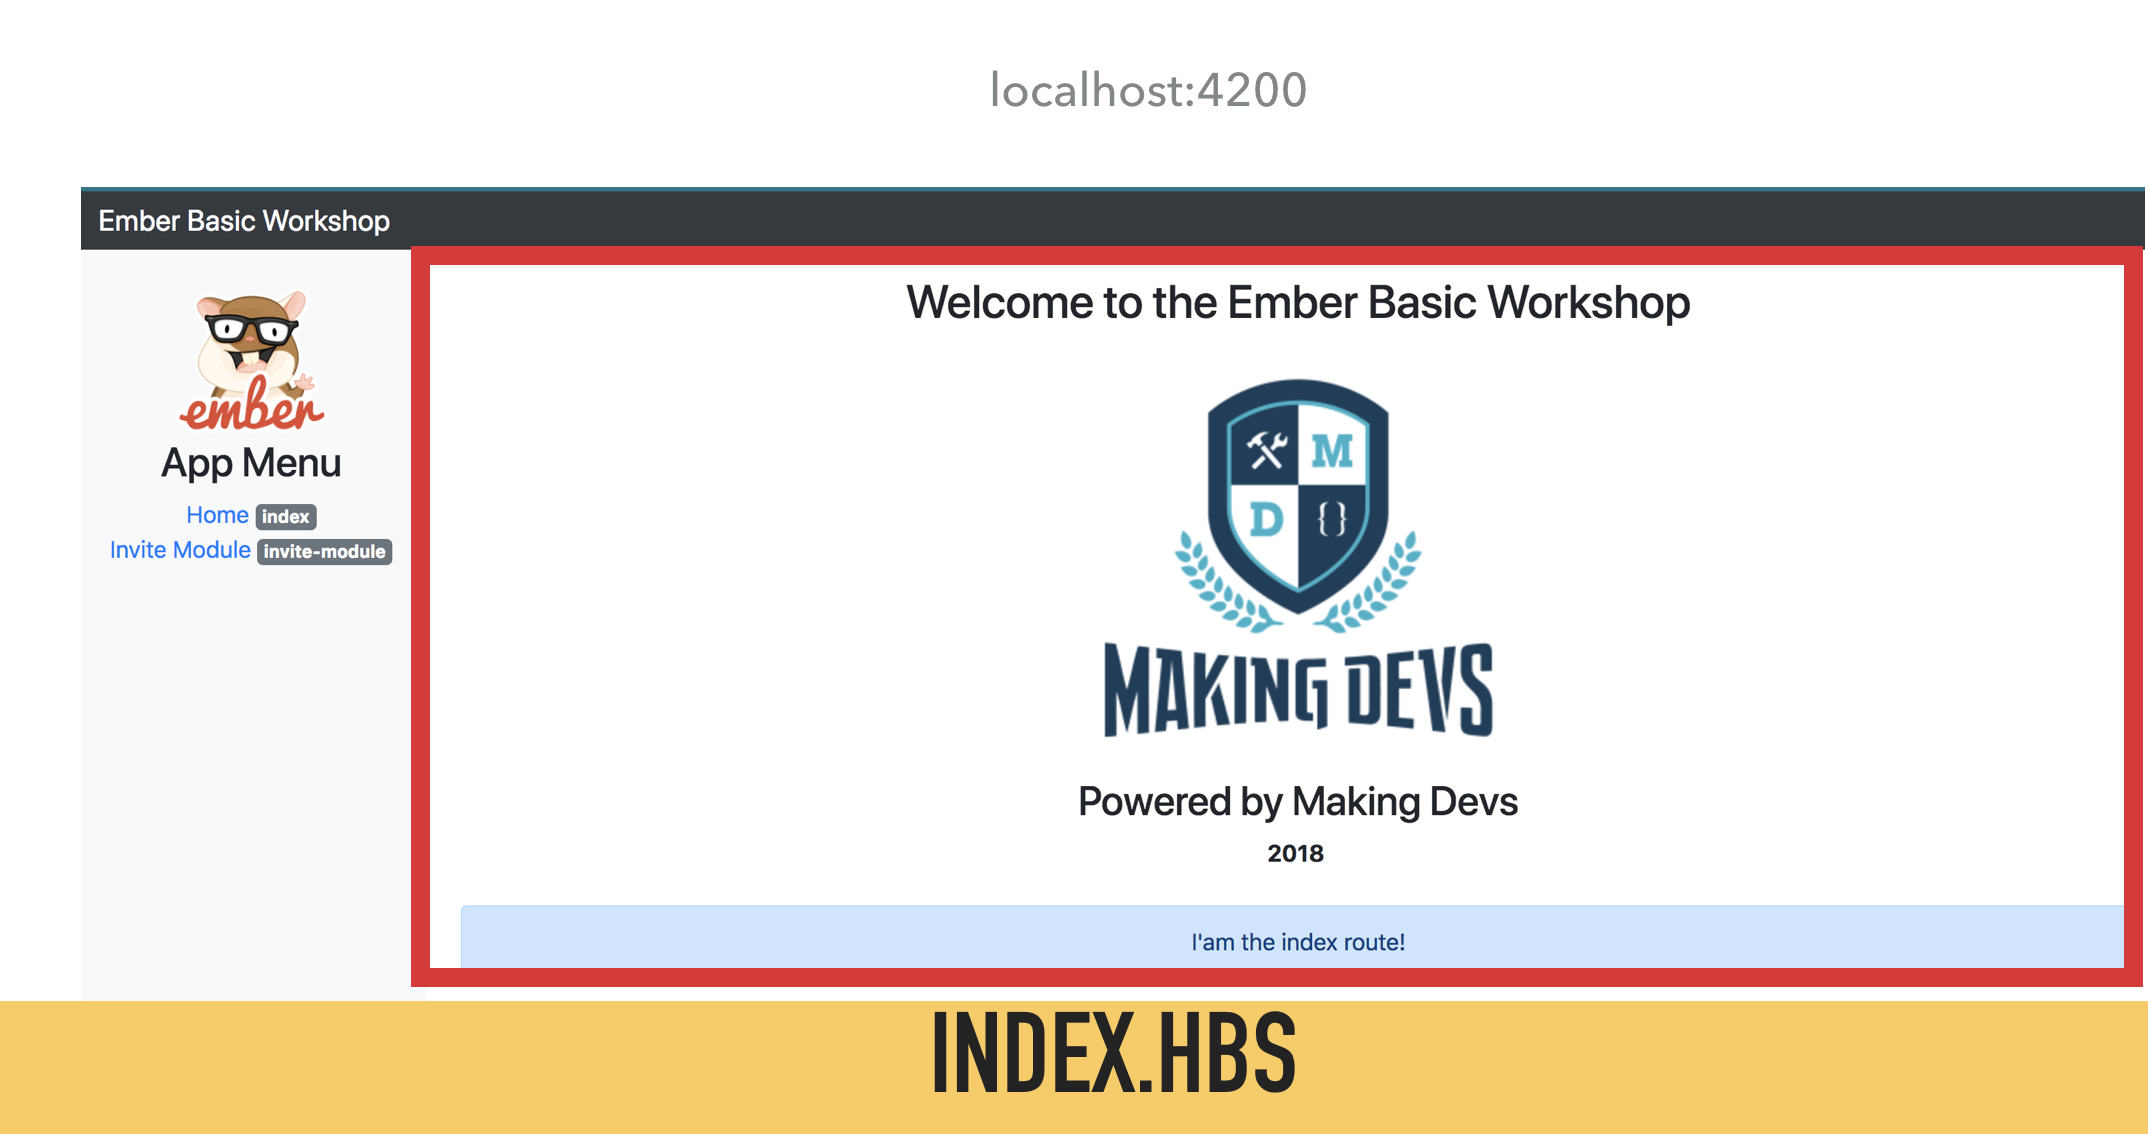
5.- Adding links for go to every route created.
Application template is the main route, so we have to add here the links for the routes. Remember use the handlebars helper #link-to 'route-name'
application.hbs
      <div class="sidebar-sticky text-center">
        <br><img src="http://emberjs.com/images/tomster-sm.png" width="50%"/>
        <h3> App Menu </h3>
        <ul class="nav flex-column">
          <li class="nav-item">
            {{#link-to 'application'}} Home {{/link-to}}
            <span class="badge badge-secondary">index</span>
          </li>
          <li class="nav-item">
            {{#link-to 'invite-module'}} Invite Module {{/link-to}}
            <span class="badge badge-secondary">invite-module</span>
          </li>
        </ul>
      </div>